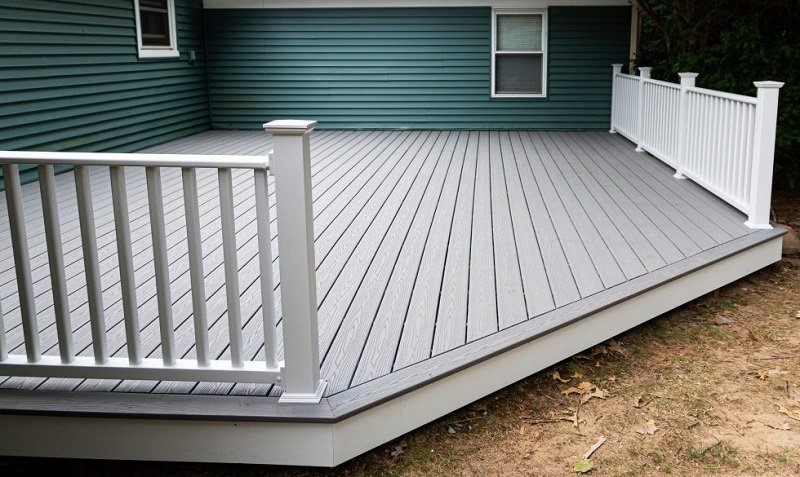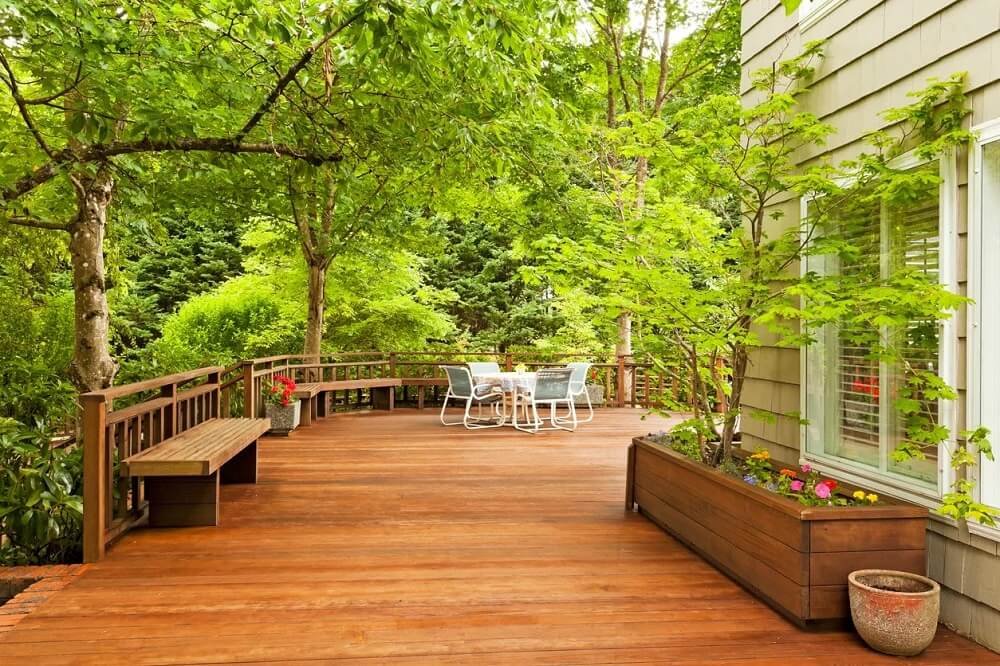
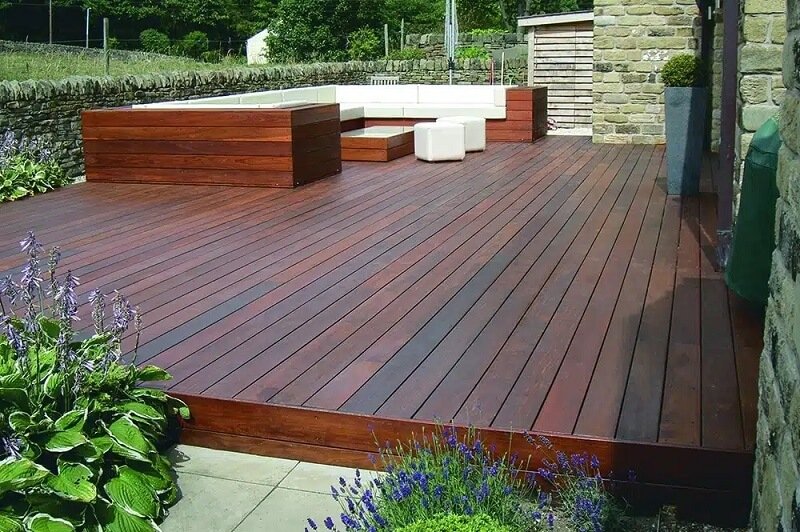
Your decking is more than just a wooden surface, it’s the heart of your outdoor space, where you relax, host friends, and enjoy sunny days. But without proper care, weather, moisture, and daily wear can quickly take their toll, leaving your deck looking tired, stained, or even unsafe.
With the right treatment, you can protect your decking, bring back its natural beauty, and extend its lifespan for years to come. In this step-by-step guide, we’ll walk you through everything you need to know, from preparation and cleaning to sealing and aftercare, so you can keep your decking strong, safe and looking its best all year round.
What Does It Mean to Treat Wooden Decking?
Treating your decking goes beyond a quick clean. It’s about giving the wood the care it needs to stay strong, safe, and beautiful over time. While many people confuse cleaning with treatment, the two are very different:
– Cleaning removes dirt, moss, algae, and surface stains. It’s essential for keeping the deck safe and ready for further care.
– Sealing adds a protective layer that prevents water damage and slows down wear from daily use.
– Oiling nourishes the wood fibres, helping them resist cracking, drying, or splitting.
– Staining changes or enhances the colour of the decking while still showing off the natural grain.
– Painting covers the wood completely, offering a solid colour finish and strong protection, but less of the natural look.
The main purpose of treatment is simple: to protect the wood from weather and moisture, to extend its durability, and to maintain or improve its appearance. A well-treated deck not only lasts longer but also becomes a safer and more enjoyable space for you and your family.
Why Treating Decking Is Essential for Long-Lasting Protection
Decking is constantly exposed to rain, sun, and temperature changes and without proper treatment, the wood can quickly lose its strength and charm. Treating your decking is the key to keeping it safe, beautiful and durable:
– Prevents rot, warping, and moisture damage: a protective layer stops water from seeping into the boards, reducing the risk of swelling, cracking, or decay.
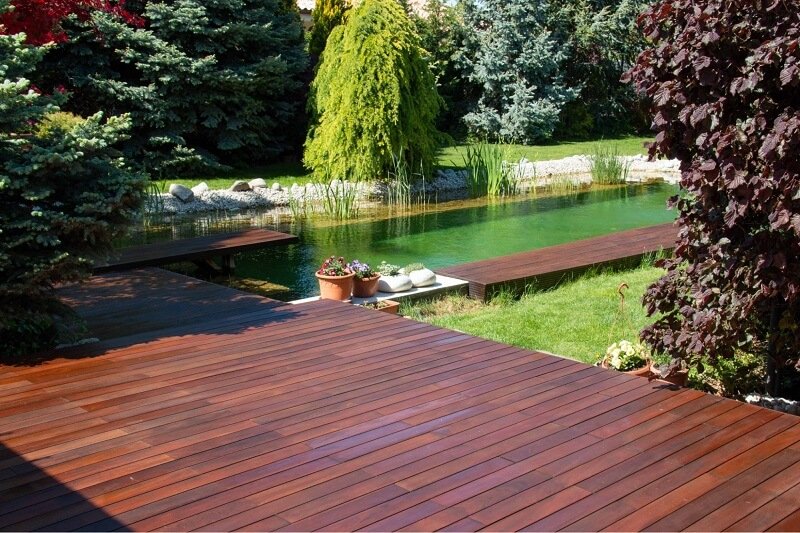
– Enhances the wood grain and natural look: oils and stains bring out the richness of the timber, making your outdoor space more inviting.
– Extends the lifespan of your decking: regular care means fewer costly repairs or replacements in the future.
– Saves money long-term: a small investment in treatment now avoids major expenses down the line.
By treating your decking, you’re not just preserving the wood, you’re protecting the entire atmosphere of your garden or patio, ensuring it stays a space to enjoy for years to come.
How to Tell If Your Decking Needs Treatment
Not sure if it’s time to treat your decking? There are a few easy ways to check the condition of the wood. By paying attention to both how it looks and how it feels, you can spot the warning signs before serious damage sets in.
Visual signs:
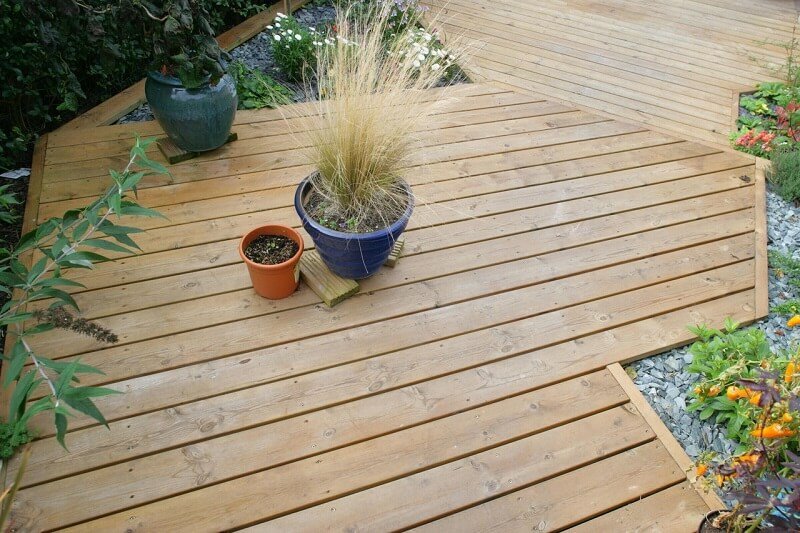
– Fading, greying, or patchy colour that makes the decking look old or neglected.
– Splintering or visible cracks, showing that the wood is drying out.
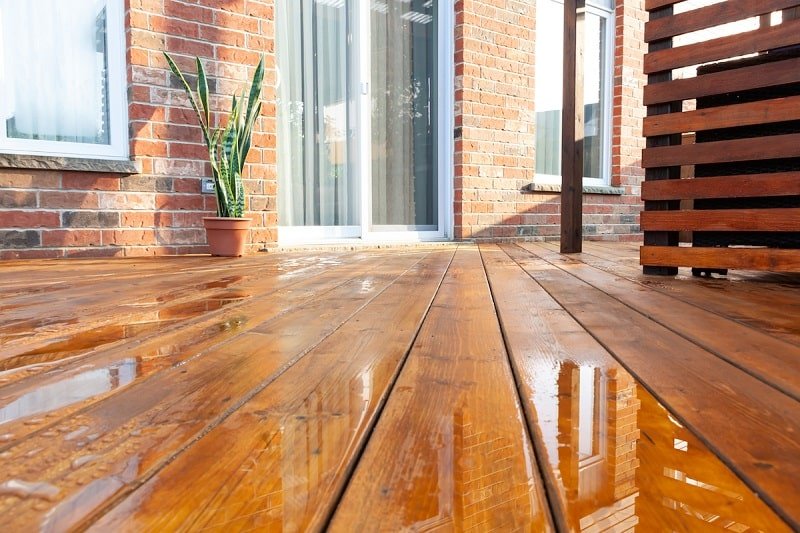
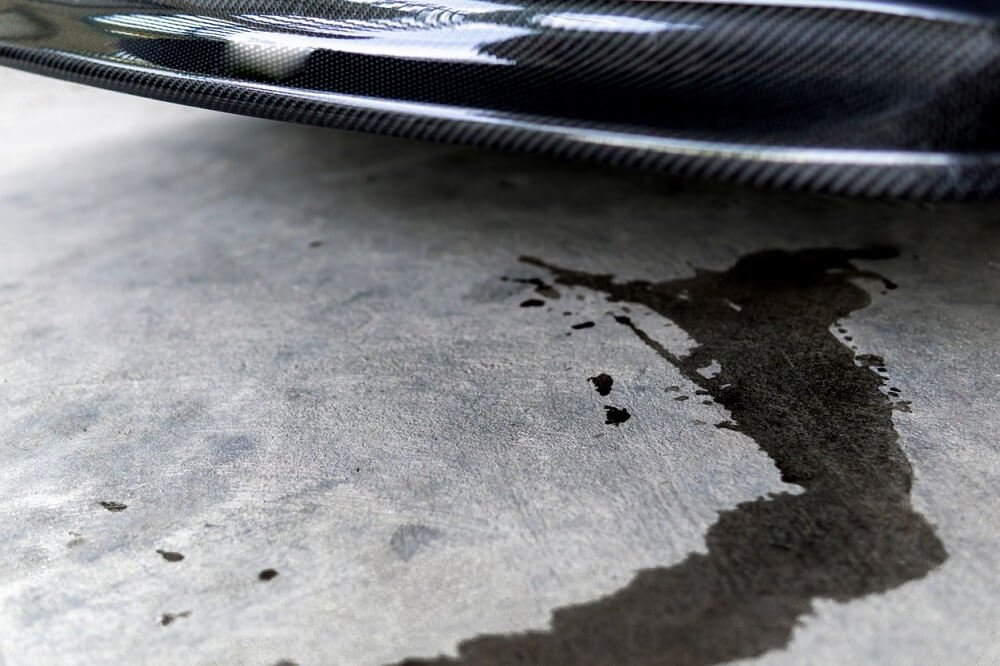
– Water soaking into the surface instead of forming small beads, a clear sign that the protective layer has worn off.
Touch tests:
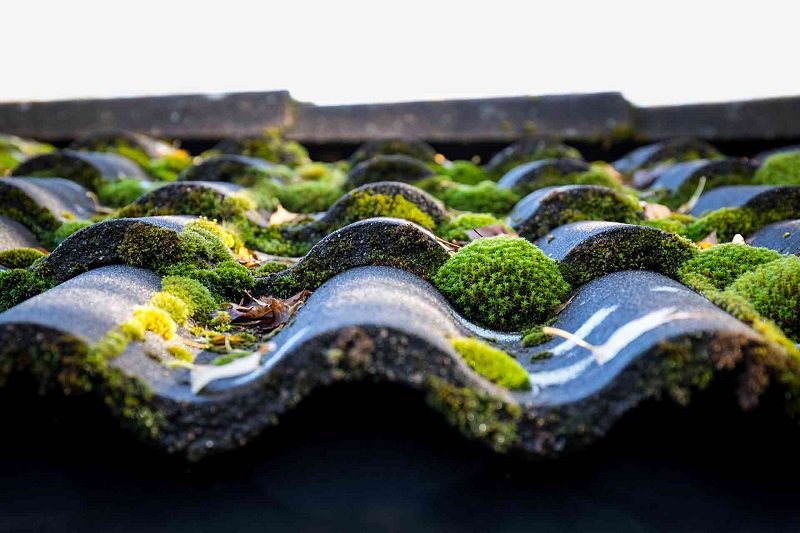
– A rough texture or raised fibres when you run your hand across the boards.
– A slippery surface caused by moss or algae, which makes the deck unsafe.
If your decking shows any of these signs, it’s time to plan a proper treatment. Acting early will prevent further damage and keep your outdoor space safe and attractive.
Preparing Wooden Decking for Treatment
Getting your decking ready is just as important as the treatment itself. Proper preparation ensures the wood absorbs oils, stains, or sealants evenly and that the results last much longer.
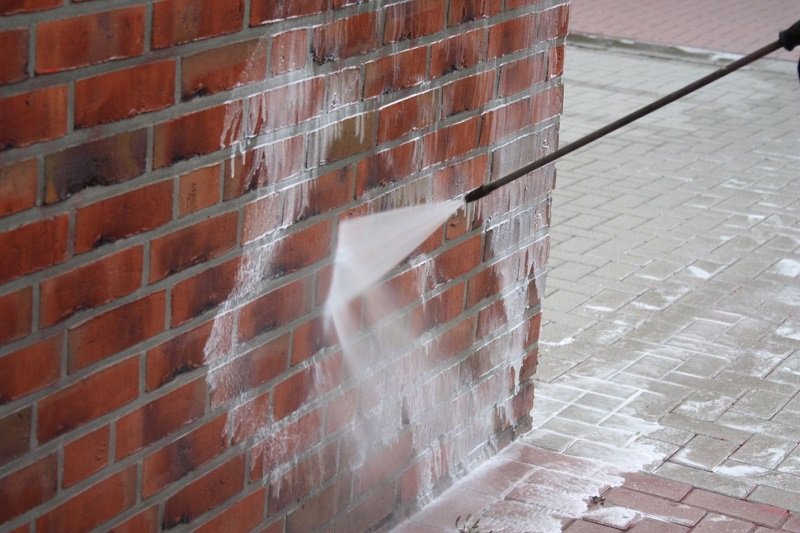
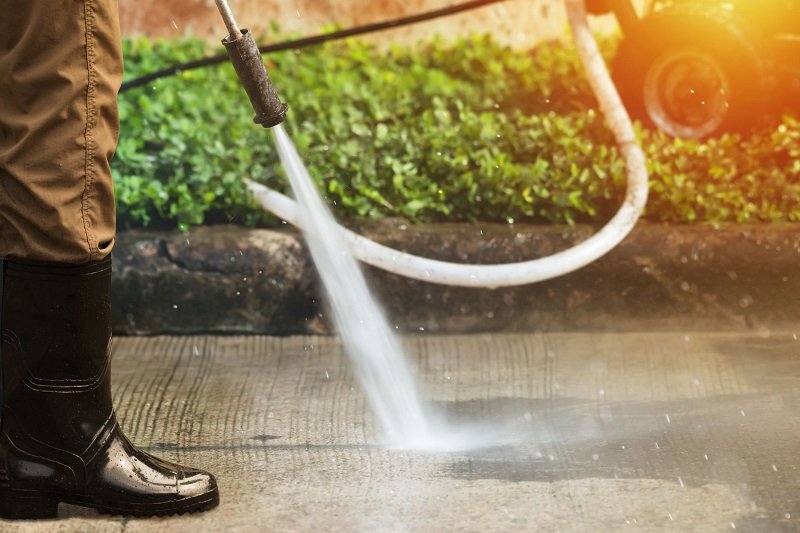
Clean the surface thoroughly
– Brush away leaves, dirt, moss, and algae. If needed, use a pressure washer on a gentle setting to restore a fresh, clear surface.
Let it dry completely
– Applying treatment on damp wood prevents absorption and can trap moisture inside, leading to rot. Give your decking at least 24-48 hours to dry fully before moving on.
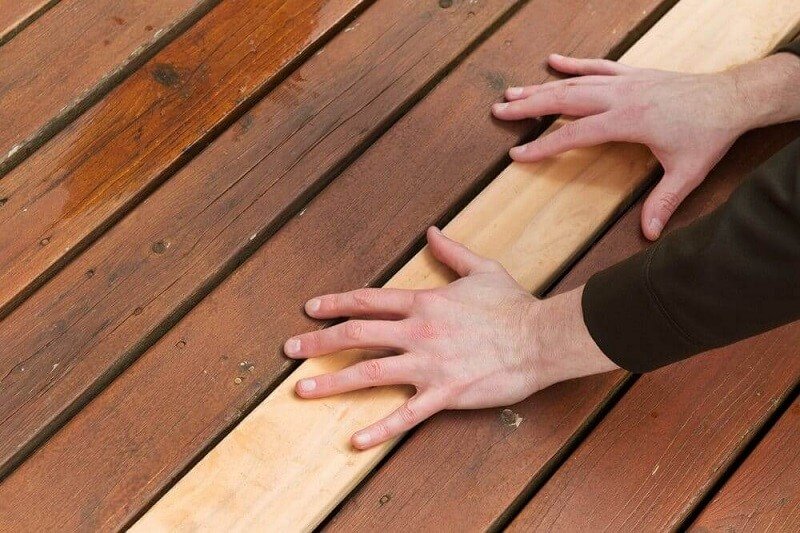
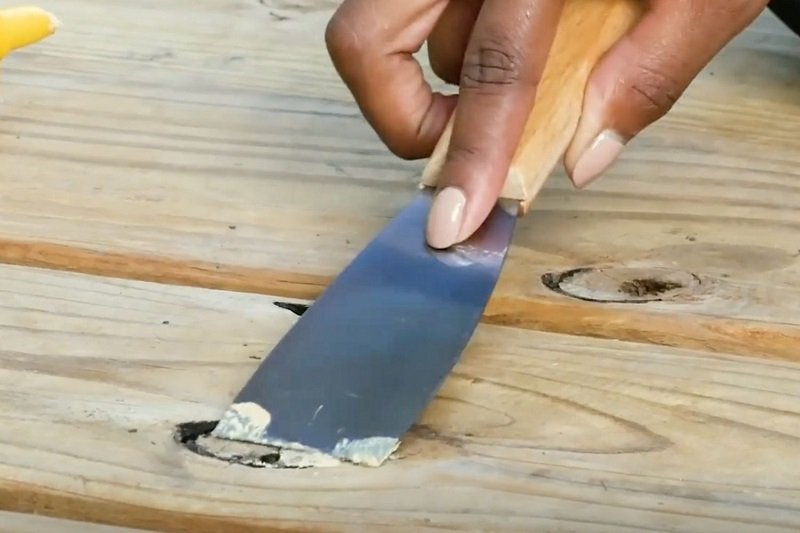
Repair and sand if necessary
– Inspect for cracks, splinters, or damaged boards and replace them where needed. A quick sanding smooths rough areas and helps the treatment stick properly.
Spending time on these steps guarantees a stronger finish, better protection, and a decking surface that’s ready to shine.
Choosing the Right Deck Treatment Product
Not all treatments are the same, each type offers different benefits depending on the look you want and the level of protection your decking needs. Here’s a quick guide to the most common options:
Decking oil
– Soaks deep into the wood to nourish and protect it from within. It enhances the natural grain and gives a rich, warm finish.
Deck stain
– Adds colour while still allowing some of the natural pattern to show through. It also protects against UV rays and moisture.
Deck paint
– Provides solid colour coverage and strong surface protection, but hides the natural wood grain completely. A good option if you want a bold, uniform look.
Sealers & preservers
– Usually clear, these products create a protective barrier against water, fungi, and mould. Ideal for extending durability without altering the wood’s appearance.
When choosing a treatment, think about the style you prefer, how much natural wood you want to see, and the level of maintenance you’re comfortable with.
Step-by-Step: How to Treat Wooden Decking
Treating decking isn’t complicated, but it does require patience and the right technique. Follow these steps for the best results:
Step 1: Stir and prepare the treatment
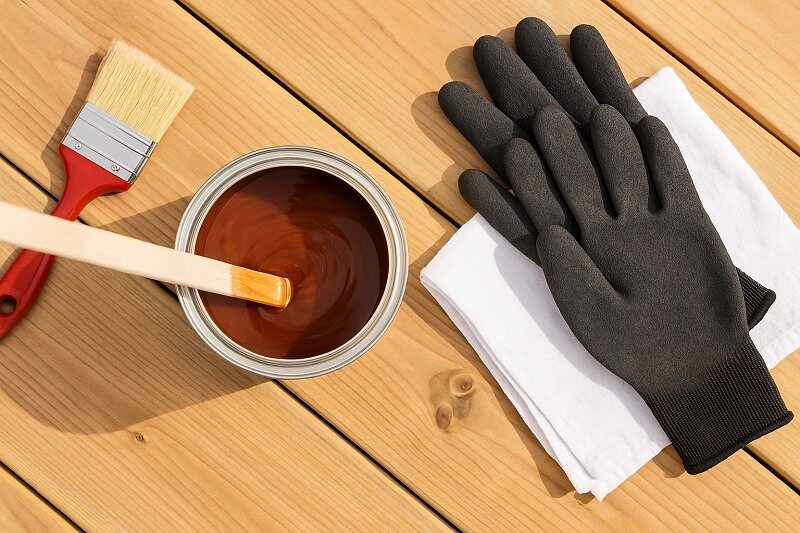
Before you begin, shake or stir the product thoroughly. Oils, stains, and paints can separate in the tin, and an uneven mix often leads to blotchy colour or poor coverage. Use a clean stick or mixing tool and take your time to blend it well.
Once mixed, always test on a small, hidden patch of decking. Different woods absorb treatment in different ways, and this trial run helps you see the true colour and finish before committing to the whole surface. It’s a simple step that saves disappointment later.
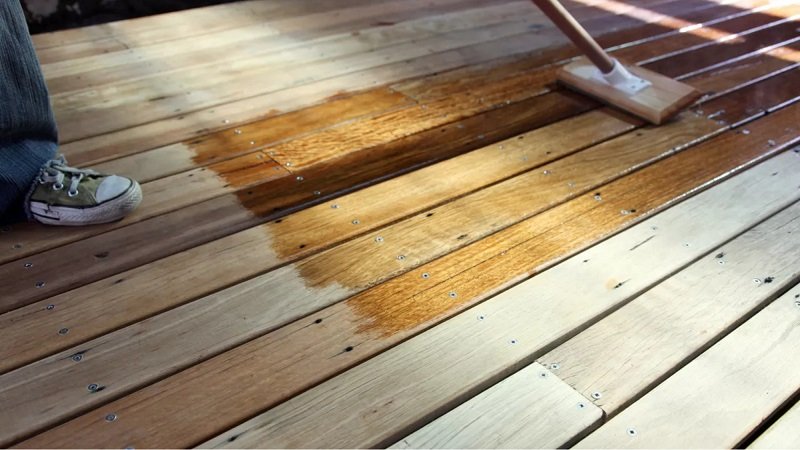
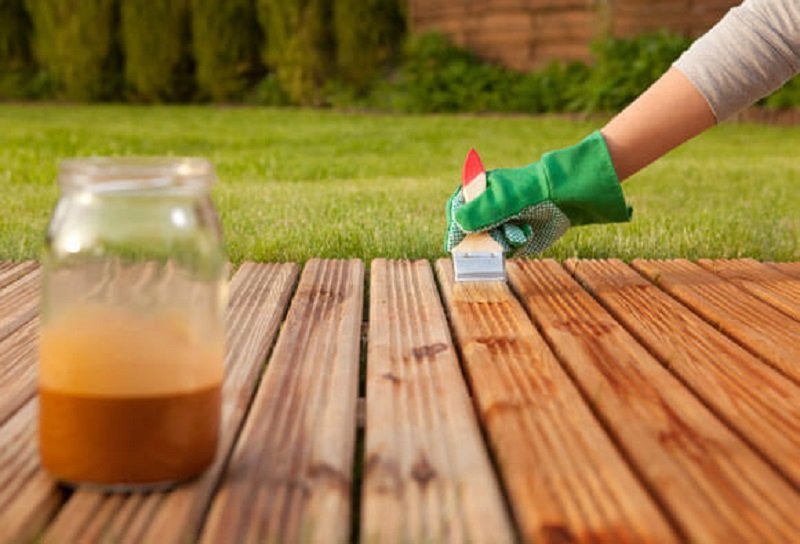
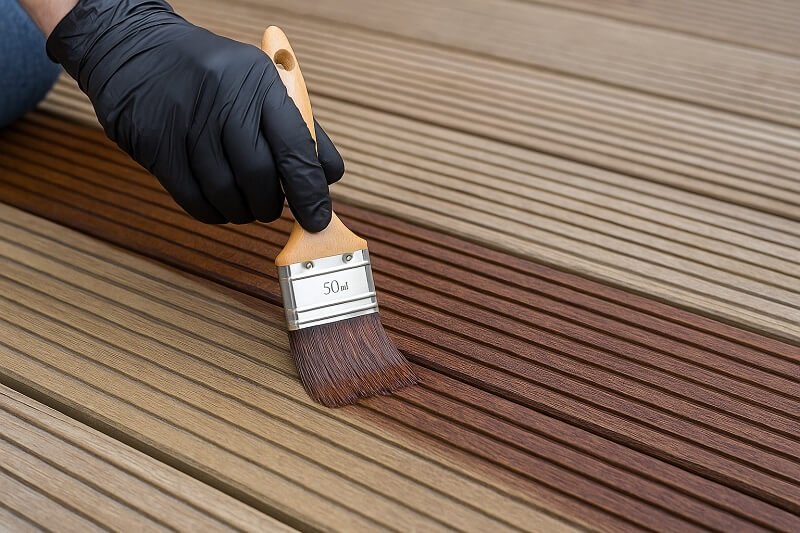
Step 2: Apply evenly
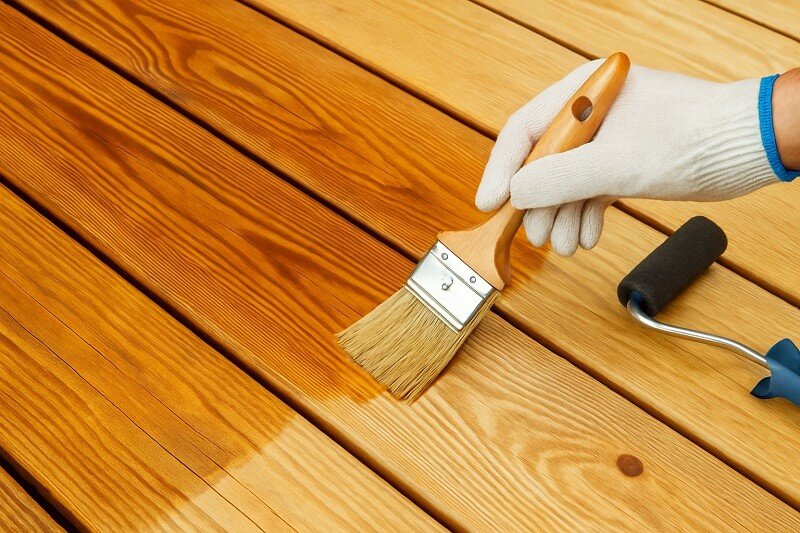
Start with a good-quality brush, roller, or applicator pad designed for decking products. Work in the direction of the wood grain, never across it. This ensures the treatment penetrates the fibres rather than sitting on the surface.
Apply in thin, even coats instead of one heavy layer. Overloading can cause sticky patches or peeling once dry. Moving methodically board by board prevents streaks and guarantees a smooth, professional-looking finish.
Step 3: Focus on edges and end grains
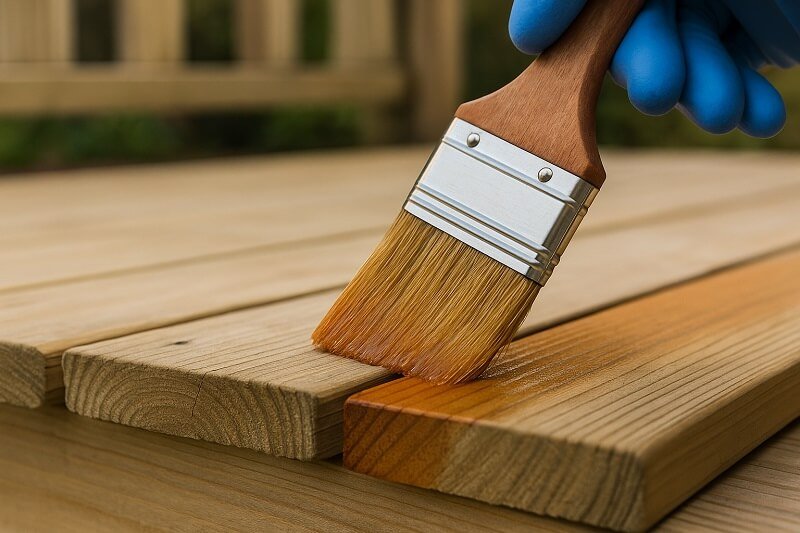
The end grains (where the wood is cut across) are the most vulnerable parts of your decking. They soak up water like a sponge and are often the first areas to rot. Apply extra product here, making sure the coating is thorough and even.
Don’t forget exposed edges, corners, and joins. These small details might seem minor, but protecting them properly makes a big difference in how long your decking stays solid and safe.
Step 4: Let the first coat dry

Patience is key. Each product has its own recommended drying time, usually anywhere between 4 and 24 hours. Applying the next coat too soon will trap moisture and stop the treatment from bonding.
Good ventilation is essential. If possible, treat your decking on a dry, breezy day and avoid damp or cold conditions. Always check that the surface feels completely dry before moving on.
Step 5: Apply a second coat if needed
Older, weathered decking often benefits from a second coat for deeper protection. Apply it in the same way as the first, again following the grain and keeping coats thin and even.
The second layer strengthens resistance against rain, UV rays, and daily wear. It also gives the finish more richness, whether you’ve chosen a natural oil, a tinted stain, or bold paint. Think of it as an insurance policy for longer-lasting results.
Need a Helping Hand?

While treating decking can be a satisfying DIY project, it can also feel overwhelming if the wood is heavily weathered or covered in moss, algae, and stubborn stains. That’s where our team at Bristol Blast Away comes in.
We specialise in professional decking cleaning and treatment, helping homeowners restore their outdoor spaces quickly and effectively. From deep cleaning to protective finishes, we make sure your decking looks its best and stays protected for years to come.
Get in touch today and let us do the hard work for you!
Aftercare and Maintenance Tips
Treating your decking is only the first step, regular aftercare keeps the finish looking fresh and the wood protected for years to come. With just a little routine maintenance, you can avoid costly repairs and enjoy your outdoor space all year round.
Regular cleaning
– Sweep away leaves, dirt, and debris to prevent moisture build-up and mould growth. A gentle wash every few weeks will keep the finish strong and the surface safe.
Seasonal touch-ups
– Check your decking in spring and autumn for signs of wear. Touching up small areas with oil or stain at these times helps stop minor issues from becoming bigger problems.
Re-apply treatment when needed
– Over time, oils, stains, and sealers naturally wear down. If water stops beading on the surface and starts soaking in, it’s time for a new coat. Re-applying at the right moment protects the wood and extends the decking’s lifespan.
A little ongoing care goes a long way, making sure your decking stays strong, beautiful, and ready to enjoy in every season
Common Mistakes to Avoid When Treating Decking
Even with the best products, a few simple mistakes can ruin the finish and shorten the life of your decking. Here are the most common errors to watch out for:
Applying treatment on damp wood
– Moisture trapped inside the boards prevents oils, stains, and sealers from soaking in properly. Always let your decking dry fully before treatment.
Using too much product
– A heavy coat doesn’t mean better protection, it often leaves a sticky, uneven finish that peels over time. Thin, even layers work best.
Skipping sanding or preparation
– Failing to smooth rough areas or remove dirt means the treatment won’t bond as it should. Proper preparation is the key to long-lasting results.
Choosing the wrong treatment for your deck type
– Different woods absorb products differently. Using the wrong oil, stain, or paint can leave your decking patchy or poorly protected. Always check the label and choose a product suited to your wood.
By avoiding these pitfalls, you’ll get a professional finish and ensure your decking stays strong, safe, and attractive for years to come.
FAQs About Treating Wooden Decking
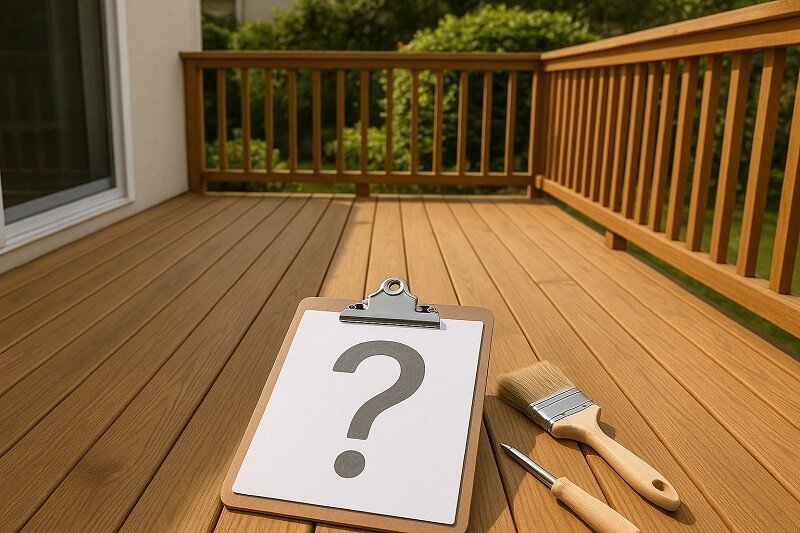
Still got questions about how, when, or why to treat your decking? You’re not alone. Many homeowners wonder which products to choose, how often to reapply, or whether old decking can be brought back to life. Here are the answers to some of the most common questions we get asked.
1. How often should I treat decking?
Most decks need treatment every 1-2 years, depending on weather exposure and the product used. Check if water still beads on the surface, if not, it’s time for a fresh coat.
2. Can I treat decking without sanding first?
Yes, if the surface is in good condition. But if the wood is rough, splintered, or previously painted, sanding helps the treatment absorb better and creates a smoother finish.
3. Is oil or stain better for wooden decks?
It depends on the look and protection you want. Oil nourishes the wood and enhances the natural grain, while stain adds colour and offers extra UV resistance.
4. What’s the best time of year to treat decking?
Spring and early autumn are ideal. Choose a dry day with mild temperatures so the treatment can dry and cure properly. Avoid very hot, wet, or frosty conditions.
5. Can old or painted decking be re-treated?
Yes, but preparation is key. Painted surfaces often need stripping or sanding before new treatment is applied. Older decking might require extra cleaning and two coats for lasting protection.