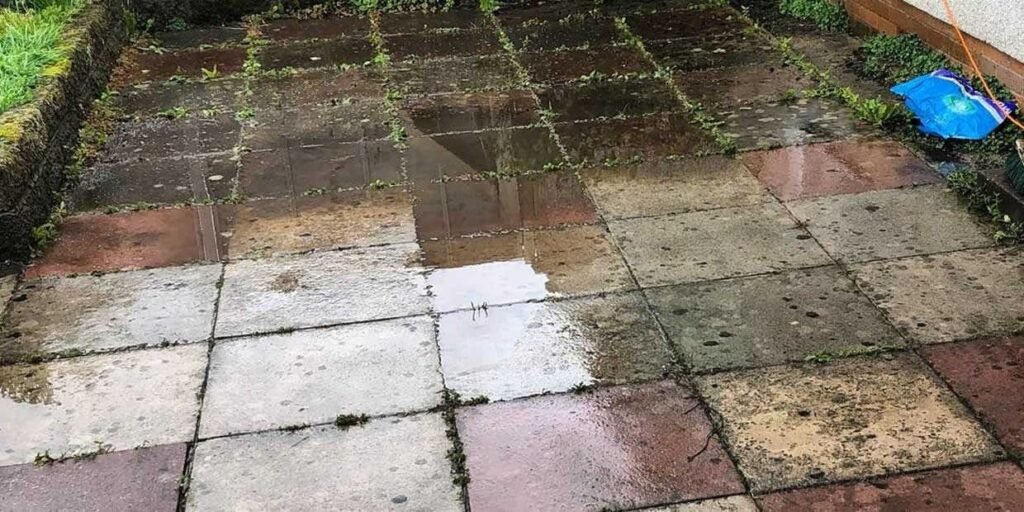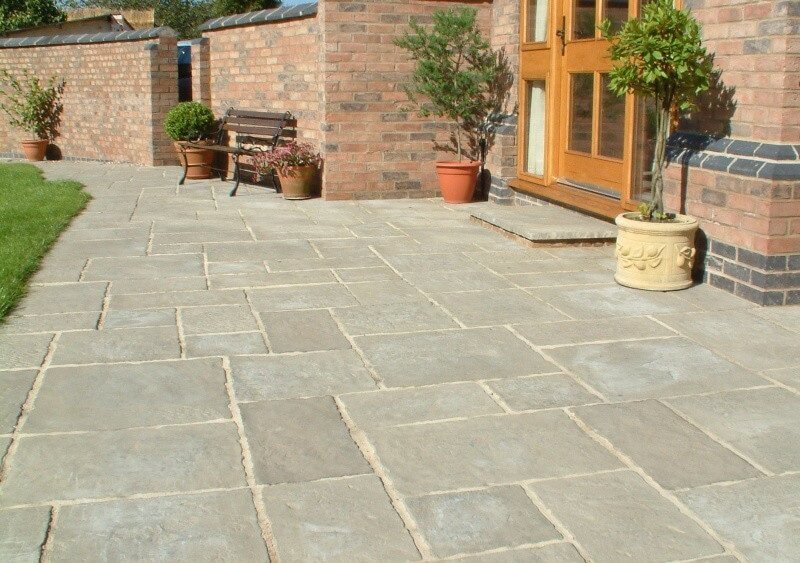
Keeping your patio slabs clean shouldn’t feel like a weekend-long project, yet for many UK homeowners, moss, algae, dirt build-up and stubborn stains can make even the nicest garden look neglected.
In this guide, you’ll learn practical, safe and genuinely effective ways to clean patio slabs, whether you’re dealing with natural stone, concrete, porcelain or mixed materials. No jargon, no overcomplicated routines, just clear steps that help you clean smarter, not harder.
Let’s get your patio looking fresh again.
Identify your patio slabs and the type of dirt
Before you choose any cleaning method, you need a quick diagnosis. Around 90% of successful patio cleaning depends on knowing your slab material and the exact type of dirt you’re dealing with. Each surface reacts differently and using the wrong method can leave marks, dull the finish or cause irreversible damage.
1. What type of patio slabs do you have?
Do a simple visual check. The most common materials in UK patios are:
- Concrete slabs: durable, but absorb oil and grease easily.
- Sandstone: naturally porous, stains quickly and holds moisture.
- Limestone: smooth, elegant, but very sensitive to acidic cleaners.
- Porcelain: non-porous and easy to maintain, but can get slippery.
- Granite tough: stable and resistant to most cleaning methods.
Risk notes:
- Limestone + acidic cleaners = instant etching and colour loss.
- Sandstone + too much jet-wash pressure = a scratched, worn surface.
2. What kind of dirt are you dealing with?
Identify the type of build-up before choosing your method:
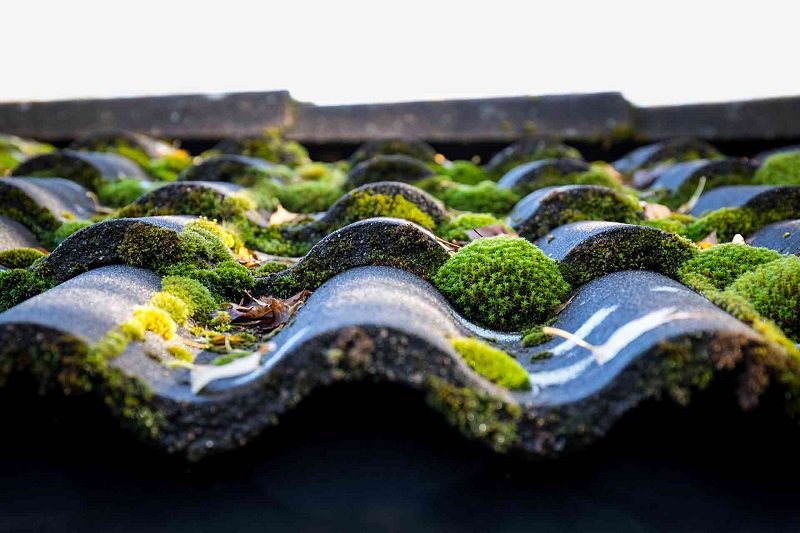
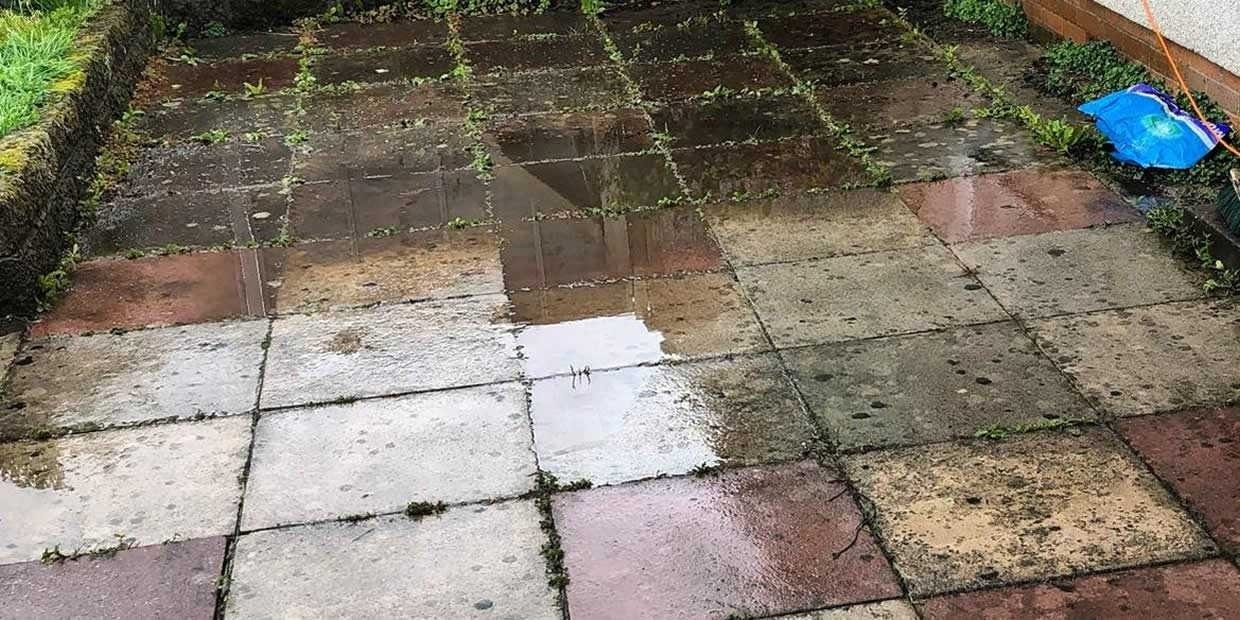
- Green algae: appear in shaded, damp areas.
- Black deposits: usually biofilm and pollution, hard to remove with water alone.
- Mud & general dirt: easy to lift.
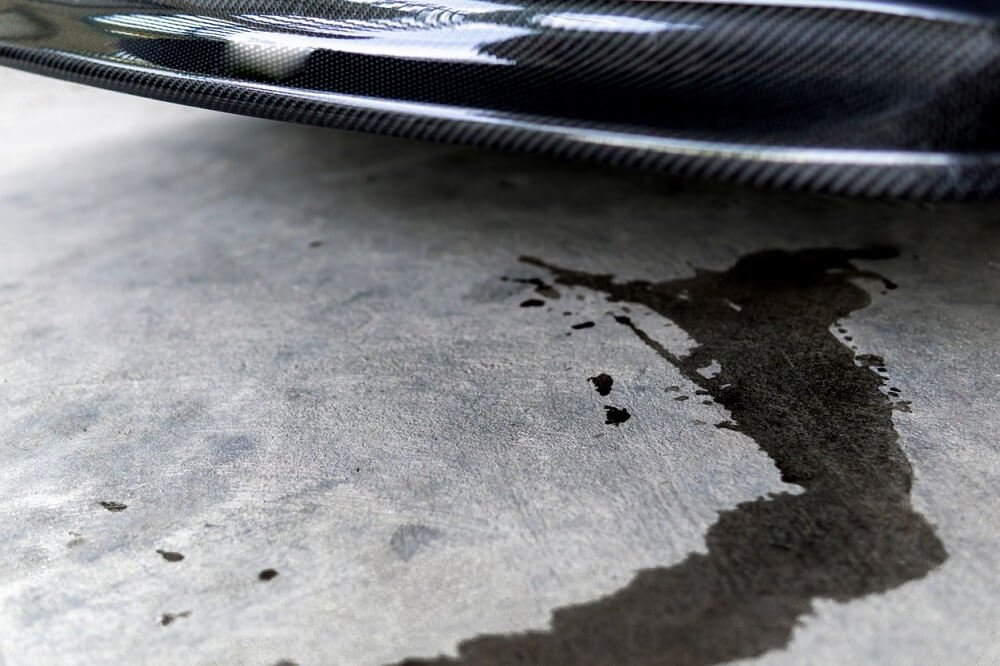
- Grease & oil stains: common near BBQs; absorb rapidly into slabs.
- Food spills: wine, sauces, coffee, etc.
- Foot traffic marks: shoes, pets, bikes.
3. How to recognise the stain type
A quick visual guide:
- Slimy green film → algae.
- Black, speckled or crusty spots → biofilm/pollution.
- Shiny, dark patches → oil or grease.
- Chalky, dusty residue → dried mud or mineral dirt.
- A stain that doesn’t move at all with water → likely oil or deep organic build-up.
Essential tools & safety before you start
You don’t need a shed full of equipment to clean patio slabs properly. A few essential, practical tools are enough as long as you use them the right way.
The only tools you truly need
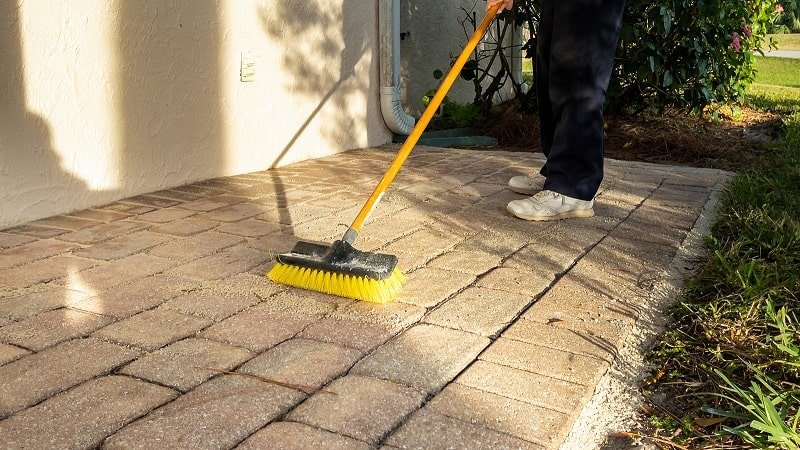
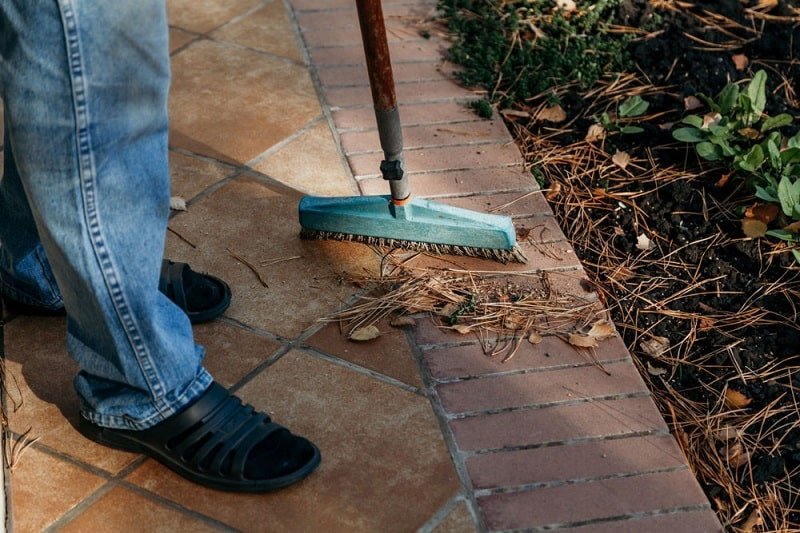
- A stiff-bristle brush: for loosening dirt without damaging the surface.
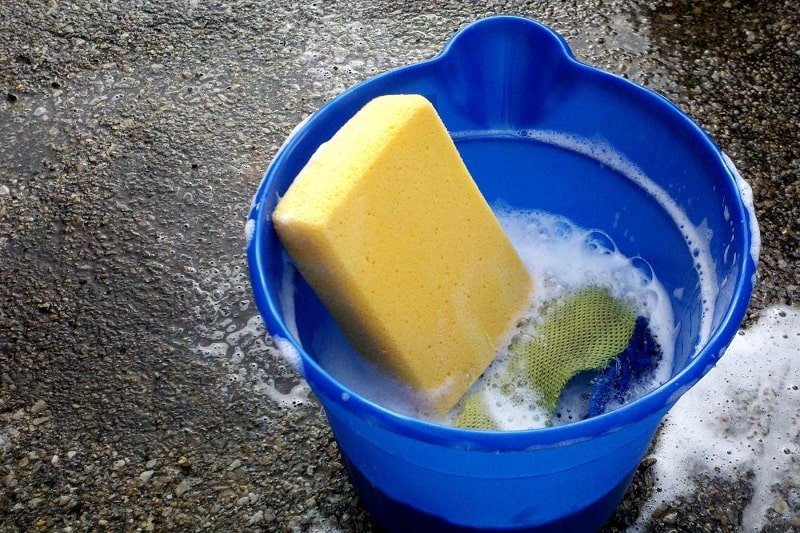
- A bucket: for mixing mild cleaning solutions.
- A garden hose (jet attachment optional): perfect for “soft cleaning” and rinsing.
- Protective gloves: always recommended, even with gentle cleaners.
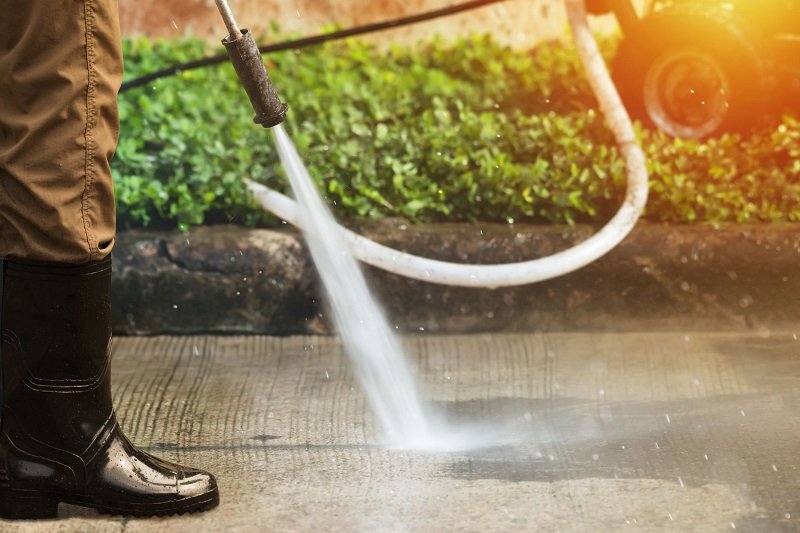
Soft cleaning vs. aggressive cleaning
Soft cleaning = low pressure, gentle motion, mild detergents. Ideal for sandstone, limestone, concrete with hairline cracks, porcelain, and for general maintenance.
Aggressive cleaning = high pressure, harsh chemicals, strong brushing. Needed only for stubborn stains, but risky if used on the wrong material.
Often, homeowners damage their patio not because they clean too little but because they clean too aggressively.
Important safety warnings
- Never use acidic cleaners on limestone or concrete, they cause etching, dull patches and permanent colour loss.
- Always do a small test spot when using any commercial cleaning product, reactions vary by slab type and age.
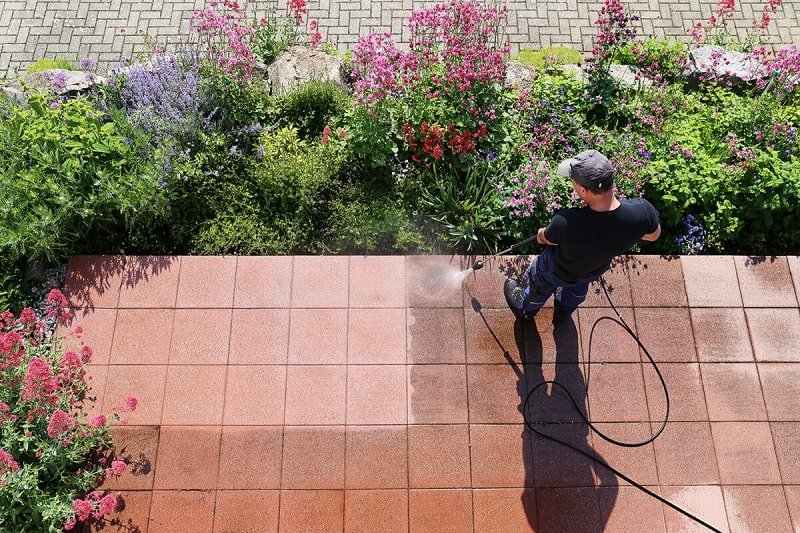
- Protect grass, plants and flowerbeds if you use diluted bleach, runoff can burn foliage and soil.
Used correctly, these simple tools and precautions help you clean effectively without putting your patio at risk.
Choose your cleaning method (based on effort, safety & type of slab)
Instead of listing random methods, use this simple decision model to pick the safest and most effective approach for your patio. The right method depends on three things: how much effort you want to put in, how sensitive your slab material is and how stubborn the dirt is.
1. Low-Effort & Low-Risk Cleaning (for general dirt)
Best for: light mud, surface dust, everyday build-up
Safe for: all slab materials (concrete, sandstone, limestone, porcelain, granite)
Method: warm water + mild detergent
Steps:
- Pre-rinse the area with a hose to lift loose dirt.
- Scrub with warm water and a small amount of detergent.
- Rinse thoroughly to remove any soapy film.
When it works:
- Perfect for regular maintenance.
- Restores brightness when your patio just looks “dull.”
When it won’t help:
Not effective on thick green algae, black spots, or embedded stains.
Time: 10–20 minutes for an average patio.
Expected results: fresher, cleaner surface, not a deep restoration.
2. Eco-Friendly Cleaning (for green algae & mild stains)
Best for: light algae, mild organic stains
Safe for: most materials except limestone
Solution: white vinegar + water (50/50 mix)
Steps:
- Apply the mixture generously.
- Leave for 10–20 minutes.
- Scrub with a stiff brush.
- Rinse thoroughly with plenty of water.
Advantages:
- Pet-safe, plant-safe (with rinsing), environmentally friendly.
- A very low-cost method.
Limitations:
- Not effective on black spots or long-standing deep stains.
- Never use on limestone vinegar is acidic.
3. Deep Cleaning for Tough Stains (when standard methods fail)
Best for: algae build-up, black spots, heavy organic dirt
Tools: commercial patio cleaners with sodium hypochlorite
How to use (safely):
- Dilute according to label (usually 1:4 or 1:5 water-to-product).
- Apply and allow 10–15 minutes contact time.
- Scrub if needed.
- Rinse thoroughly to neutralise the area.
Safety measures:
- Wear gloves and avoid splashing on clothing or skin.
- Protect plants and grass from runoff.
- Test a small patch first.
Good for: concrete, granite, porcelain, heavy staining.
Avoid on: limestone, poorly sealed sandstone.
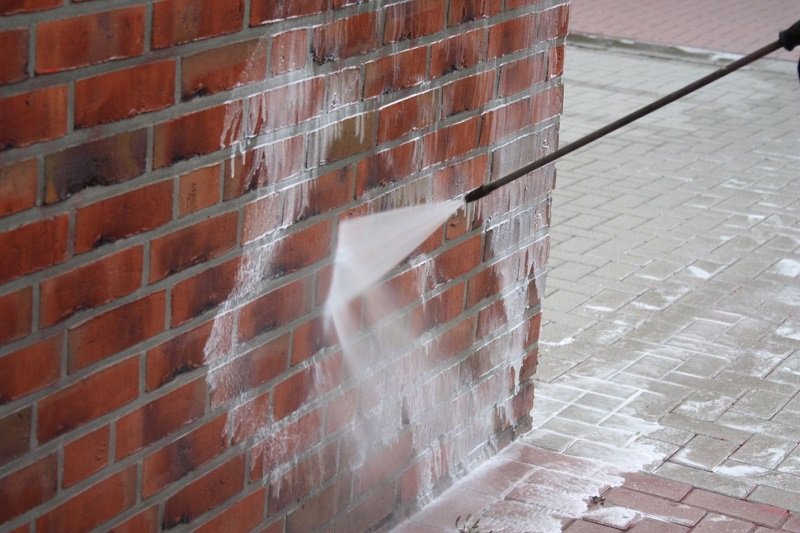
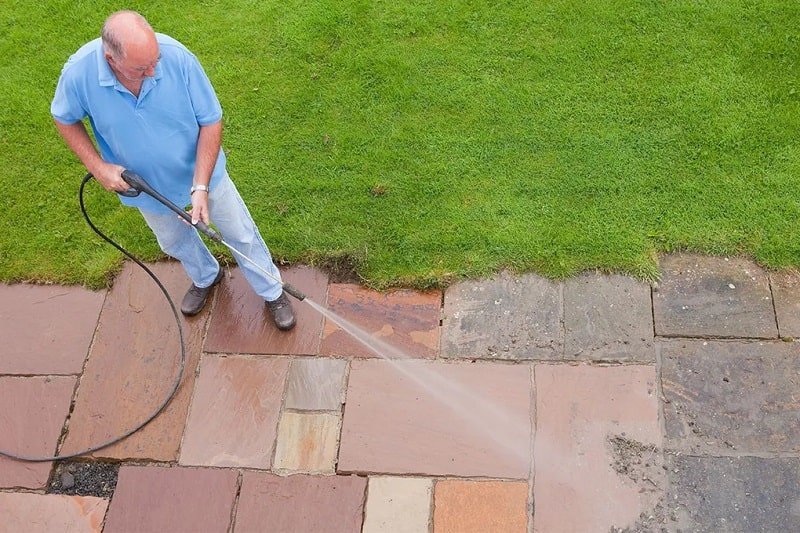
4. Pressure Washing: When to Use It and When to Avoid It
Pressure washing is powerful, but it’s also the method most likely to damage slabs if used incorrectly.
Risks to know:
- Can blast away the jointing sand between slabs.
- Can erode sandstone and leave a rough, uneven texture.
- Can worsen existing cracks.
Safe to use on:
Concrete, porcelain, granite durable surfaces that handle pressure well.
Use with caution on:
- Sandstone (keep low pressure).
- Older patios with weakened joints.
- Anything showing cracks or softness.
Correct technique:
- Keep a consistent distance of 20–30 cm.
- Use a fan nozzle, not a pinpoint jet.
- Start on the lowest pressure and increase only if needed.
Avoid pressure washing entirely if:
- The slab material is soft or flakes easily.
- Joints crumble when touched.
- The surface is limestone (risk of etching).
Cleaning by stain type (fast lookup section)

Use this quick reference to match each stain with the safest and most effective cleaning method, no trial and error, no damage.
Green algae
1. Why it appears:
Shaded, damp areas with little sunlight. Algae form a slippery green film on most slab materials.
2. Safest methods:
Rapid method:
- Sodium-hypochlorite patio cleaner (diluted 1:4–1:5).
- 10–15 minutes contact → gentle scrub → rinse well.
- Works on concrete, porcelain, granite, sandstone (low pressure).
Eco method:
- White vinegar + water (50/50) — not for limestone.
- 10–20 minutes → brush → heavy rinse.
3. When each works:
- Eco = great for light algae.
- Rapid = needed for thick, established growth.
Black spots
1. What they actually are:
Black spots are lichen, a mix of fungus + algae that bonds to the surface and sends microscopic “roots” into the pores of the slab. This is why they do not respond to detergent, vinegar or warm water, no matter how hard you scrub.
2. What really works:
- Sodium-hypochlorite-based cleaners for patios.
- Dedicated “black spot removers” with oxidising agents.
- Contact time: 20–30 minutes, sometimes longer for old spots.
- Brush lightly → rinse thoroughly.
3. When you need a professional:
- If the patio is sandstone with deep pitting.
- If black spots cover 40–60% of the surface.
- If standard deep-clean solutions barely improve the staining.
Professionals have controlled pressure systems and high-strength treatments that are not available retail.
Grease & food stains (from BBQs)
1. Why they’re difficult:
Oil sinks quickly into porous slabs like sandstone and concrete, creating dark, glossy patches.
2. Safe solutions:
- Stone-safe degreasers (pH-neutral or alkaline, non-acidic).
- Warm water + a small amount of washing-up liquid for fresh spills.
- For deeper stains: apply degreaser → leave 10 minutes → scrub → rinse.
3. Common mistakes to avoid:
- Never use acids (lemon, vinegar, brick acid). They embed the stain or etch the surface.
- Avoid pressure washing directly on a fresh grease stain it spreads the oil deeper.
- Don’t leave greasy spills to “soak out on their own”; they set quickly.
Mistakes to avoid when cleaning patio slabs
Even the right cleaning method can go wrong if a few essential rules are ignored. These are the most common and most costly mistakes homeowners make when cleaning their patios.
1. Using acidic cleaners on limestone or concrete
Acids (vinegar, lemon, brick acid, lichen removers with low pH) cause etching, dull patches and permanent colour loss, especially on limestone. Concrete also reacts badly, leaving rough, uneven areas.
2. Leaving bleach or hypochlorite on the surface for too long
Bleach works fast, but if left to dry, it can fade colours, burn nearby plants and leave a patchy finish. Always follow the recommended contact time and rinse thoroughly.
3. Pressure washing sandstone with high pressure
Sandstone is porous and relatively soft. Overpowered jet-washing can strip the top layer, expose grains and create a rough, worn look. Use low pressure or avoid entirely if the stone is already weathered.
4. Cleaning in direct, strong sunlight
Solutions dry too quickly in full sun, leaving streaks, residue and uneven patches. Clean early morning or late afternoon for best results.
5. Ignoring the joints between slabs
High-pressure water can easily blast out jointing sand, destabilising the patio and allowing weeds to grow. Work at a gentle angle, keep distance and avoid concentrating the jet on the gaps.
When DIY isn’t enough: Signs you need a professional
Some patio problems go beyond what household products and basic tools can handle. If you notice any of the signs below, calling a professional isn’t just convenient, it prevents damage and saves you time.
1. Black spots that remain after two different cleaning methods
Lichen can bond deeply into porous slabs. If detergent + eco method + hypochlorite still don’t shift it, a professional-grade treatment or controlled pressure system is usually required.
2. Persistent odours or deep mould growth
A lingering musty smell or visible mould returning quickly suggests moisture trapped below the surface, something that standard DIY cleaning can’t fully remove.
3. Surfaces that stay slippery even after cleaning
If your patio feels unsafe to walk on, you’re likely dealing with biofilm, not just algae. This requires specialist chemicals and low-pressure soft washing techniques.
4. A large patio that would take more than 4–5 hours to clean manually
For big areas, DIY becomes exhausting and inconsistent. Professionals use wide-surface cleaners and controlled flow systems that cut cleaning time dramatically.
5. High-value or delicate materials at risk of damage
Premium porcelain, soft limestone, textured sandstone or any slab starting to flake can be easily damaged by DIY pressure washing or incorrect chemicals.
Professional cleaning ensures the surface is treated safely
When DIY methods are no longer effective, having a specialist step in can protect your patio and deliver far better results than home treatments. Bristol Blast Away has become a trusted option for homeowners looking for safe and thorough patio cleaning.
What makes them a reliable choice:
Expert care for sensitive materials such as sandstone, soft limestone and premium porcelain, cleaned using controlled pressure and the correct solutions.
Professional equipment that removes algae, deep biofilm and long-standing black spots more efficiently than any household tools.
Fast, noticeable improvements, with most patios restored within 1-2 hours.
Garden-friendly cleaning, with careful protection for grass, plants and borders.
Ideal for difficult cases, including severe staining, very slippery surfaces or large patios that would take hours to clean manually.
For homeowners across Bristol, Bristol Blast Away offers the level of cleaning precision and safety that DIY simply can’t match.
How to keep your patio clean longer (maintenance that actually works)
A spotless patio isn’t just about how well you clean it, it’s about how well you maintain it. A simple routine keeps algae, grime and stains from coming back every few months.
1. Follow a simple weekly & seasonal routine
Weekly:
- Sweep away leaves, dirt and debris (prevents moisture buildup).
- Rinse with a hose if the area stays damp or shaded.
Seasonally (every 2–3 months):
- Light scrub with warm water + mild detergent.
- Check joints and replace loose sand if needed.
- Inspect for early signs of algae or black spots.
These small steps prevent 80% of common issues.
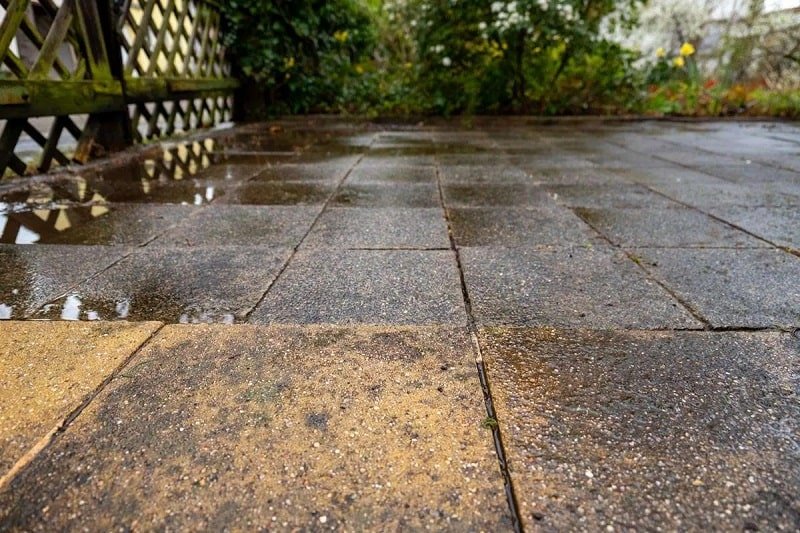
2. Why prevention matters
Algae and grime don’t appear overnight, they grow in moist, shaded, poorly ventilated areas. When debris sits on the surface, it traps water, creating the perfect environment for green algae and slippery biofilm. Keeping the patio dry, swept and ventilated slows down this process dramatically.
3. Consider using a sealant (when it makes sense)
A quality patio sealant can help protect against staining and moisture absorption, but it’s not universal.
Recommended for:
- Concrete, granite, sandstone (if in good condition).
Be cautious with:
- Limestone only use sealers specifically designed for it.
- Porcelain usually doesn’t need sealing due to low porosity.
Apply sealant only on a clean, completely dry patio, ideally during dry weather.
4. How to avoid seeing the same dirt again in 2–3 months
- Keep surrounding plants trimmed to reduce shade.
- Avoid leaving pots, mats or furniture in the same place long-term, they trap moisture.
- Clean spills immediately, especially grease or food stains.
- Maintain good drainage so water doesn’t pool on the surface.
- After a deep clean, rinse the patio once a month to stop algae before it forms.
FAQs based on what people actually search for

Can I use bleach on patio slabs?
Yes, but only when used diluted and on the right materials. Bleach works well on concrete, granite and porcelain for algae and light staining.
Avoid using it on limestone and use caution on sandstone. Never let bleach dry on the surface and always rinse thoroughly.
What’s the best homemade patio cleaner?
For general dirt, the safest and most effective homemade cleaner is warm water + mild detergent.
For light algae, you can use white vinegar + water (50/50), but not on limestone, as vinegar is acidic.
Homemade cleaners will not remove black spots or deep stains.
How often should I clean patio slabs?
- Light maintenance: weekly sweeping + occasional rinse.
- General cleaning: every 2–3 months, depending on shade and weather.
- Deep cleaning: once or twice a year, especially after winter.
Regular maintenance prevents algae growth and keeps your patio from becoming slippery.
Is pressure washing safe for all patios?
No. Pressure washing is safe for concrete, granite and porcelain, but can damage sandstone, old patios and anything with weak joints. Use low pressure, keep a consistent distance (20–30 cm) and avoid blasting directly into the joints.
For limestone, controlled soft-wash cleaning is usually safer than pressure washing.