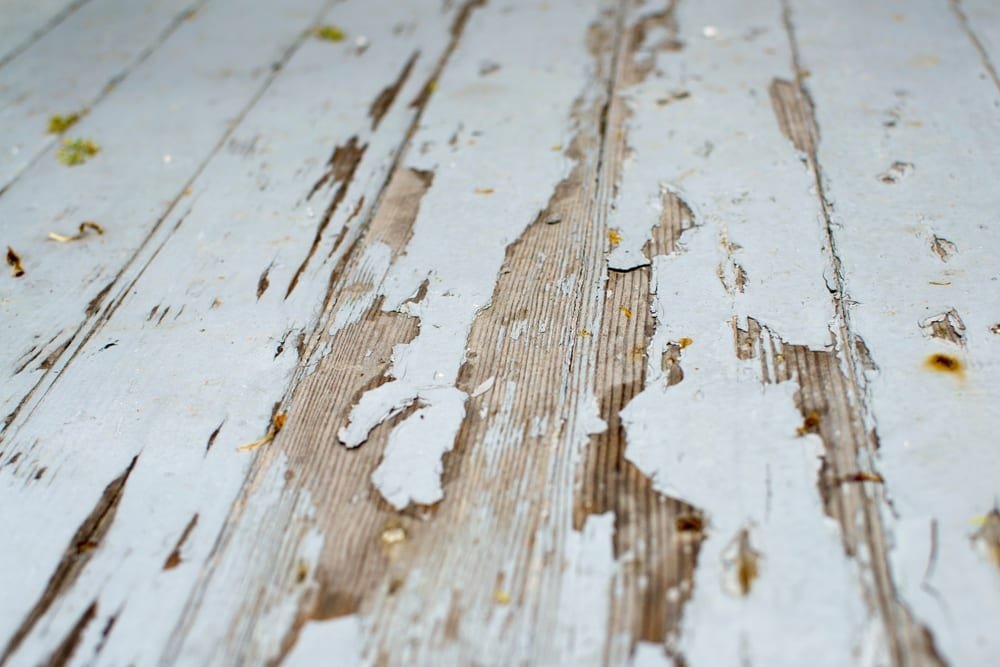
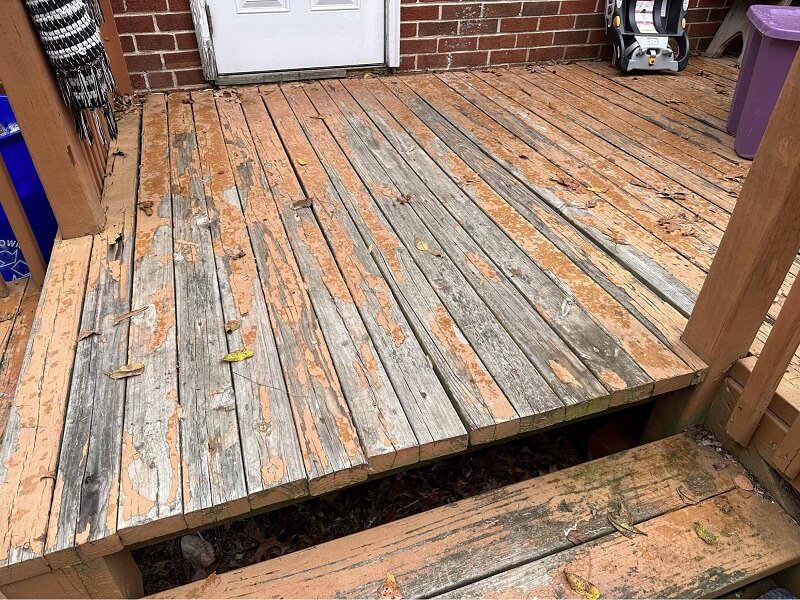
Over time, painted decking can start to peel, fade, or simply look outdated. Many homeowners choose to remove decking paint either to refresh the overall appearance, prepare the surface for a new stain or oil, or ensure better long-term protection.
If you’re wondering how to strip deck paint without damaging the wood, this step-by-step guide will walk you through the safest and most effective methods.
Why It’s Important to Remove Deck Paint
Old or peeling paint doesn’t just spoil the look of your outdoor space, it can also put your decking at risk. Stripping away the old layers restores the natural beauty of the wood, giving it a fresh, clean appearance.
It also prepares the surface properly, so that any new finish, whether oil, stain, or a new coat of paint, can bond better and last longer.
Most importantly, removing deck paint helps prevent long-term damage caused by trapped moisture and flaking paint, keeping your decking strong and safe for years to come.
Tools and Materials You’ll Need
Before you get started, make sure you have the right tools at hand, they’ll save you time, protect your decking and keep the job safe.
Use a plastic or wooden scraper to lift away old paint without scratching or gouging the timber.
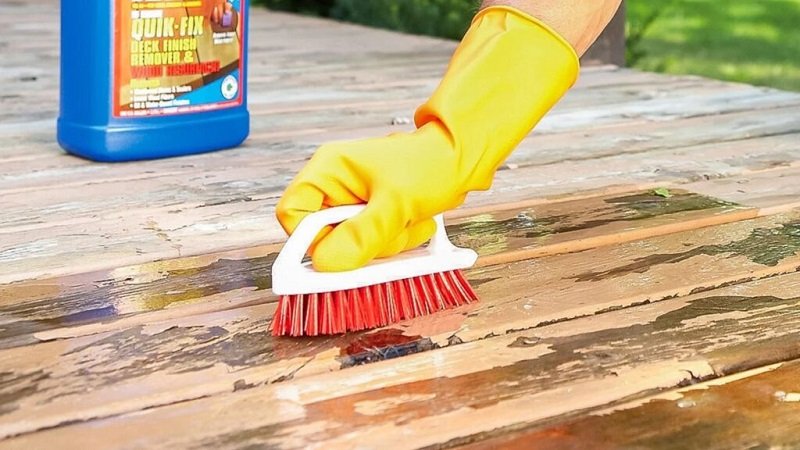
Apply a water-based paint stripper or deck cleaner to loosen stubborn layers in a safe, effective way.
Scrub with a soft-bristle brush, which is gentle enough to protect the surface but tough on peeling paint.
Rinse everything off using a garden hose or low-pressure washer with a fan nozzle to avoid damaging the wood.
Protect nearby plants, walls, or furniture by covering them with sheets.
Stay safe throughout the process by wearing gloves, safety glasses, and a mask.
How to Remove Paint From a Deck (Step-by-Step)

Stripping paint from a deck takes time, but it’s the key to getting long-lasting results. When done correctly, you’ll not only bring back the natural look of the timber but also create a clean, smooth base that’s ready for staining, oiling, or a fresh coat of paint.
The steps below will guide you through the process safely and effectively, so you can transform your decking without causing damage.
Step 1: Prepare the area
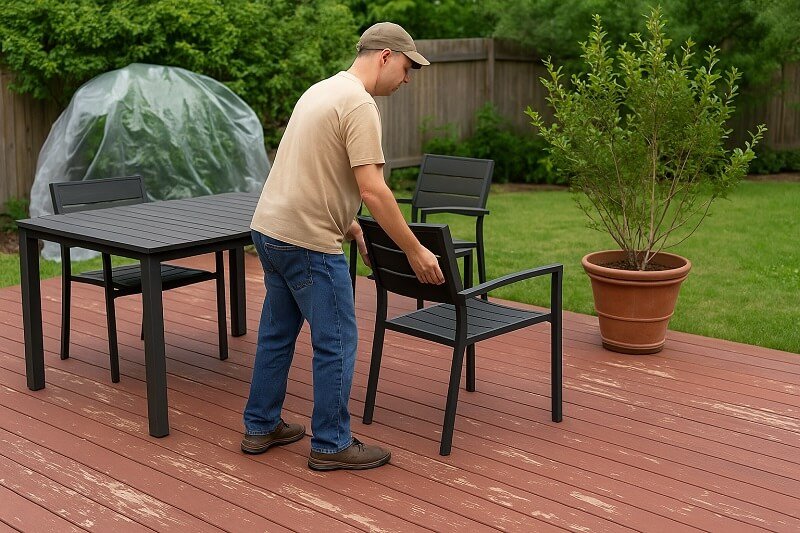
Start by clearing absolutely everything from the deck, furniture, pots, and even small decorative items. This gives you space to work without obstacles and prevents accidents.
Once the area is clear, protect anything around the deck that could be affected by paint stripper or water. Use plastic sheets, dust sheets, or tarpaulins to cover nearby plants, walls, doors, or garden features. Taking time with this stage will save you a lot of cleaning later and ensures the process stays neat and controlled.
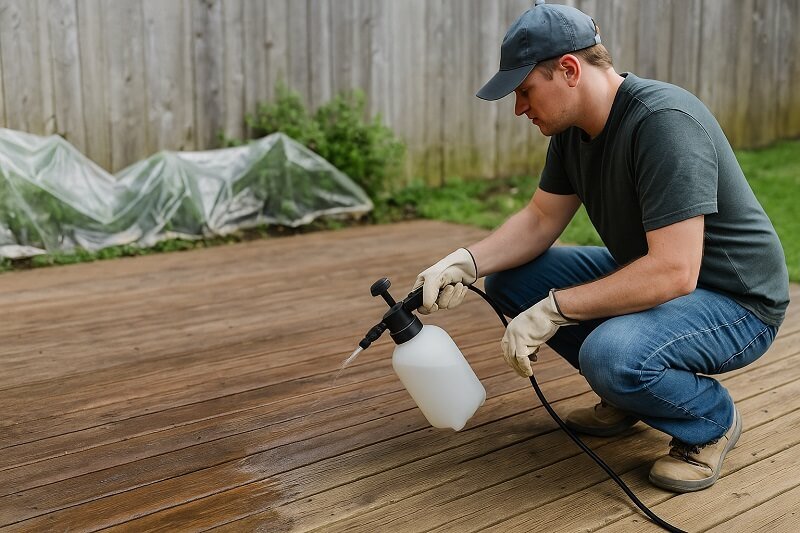
Step 2: Clean the decking surface
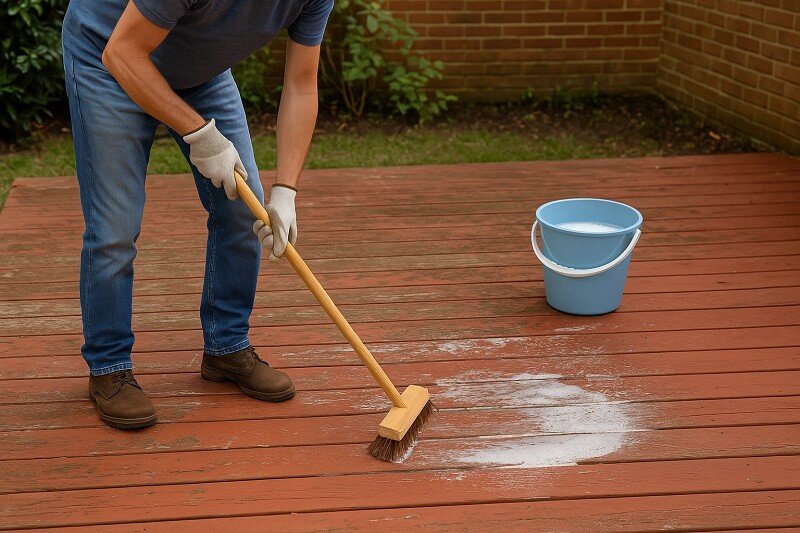
With the space clear, the next step is to clean the wood thoroughly. Use a stiff broom to sweep away dust, leaves, and surface debris. Then wash the boards with a mild detergent diluted in warm water to break down dirt, algae, or light grease.
This isn’t about deep cleaning, it’s about making sure there’s nothing between the stripper and the paint. A clean deck means the paint remover will penetrate more evenly and work more effectively, so don’t rush this stage.
Step 3: Apply paint stripper
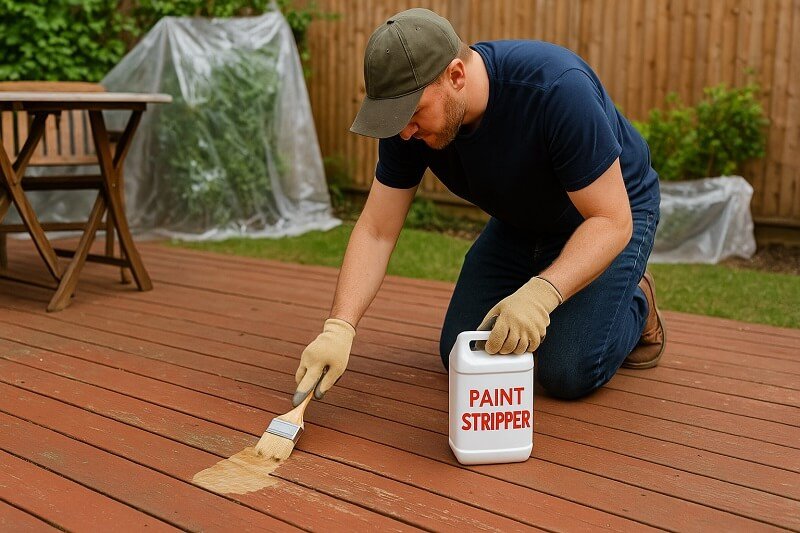
Now it’s time to apply the paint stripper. Pour a manageable amount into a paint tray or bucket, and use a wide brush or roller to spread an even layer across the boards.
Work in small sections so the stripper doesn’t dry out before it has time to work. Follow the instructions on the product label closely, especially regarding how long it needs to sit.
Giving the stripper the right amount of dwell time is crucial, leave it too short and the paint won’t lift, too long and it may dry back onto the surface.
Step 4: Strip paint off a deck
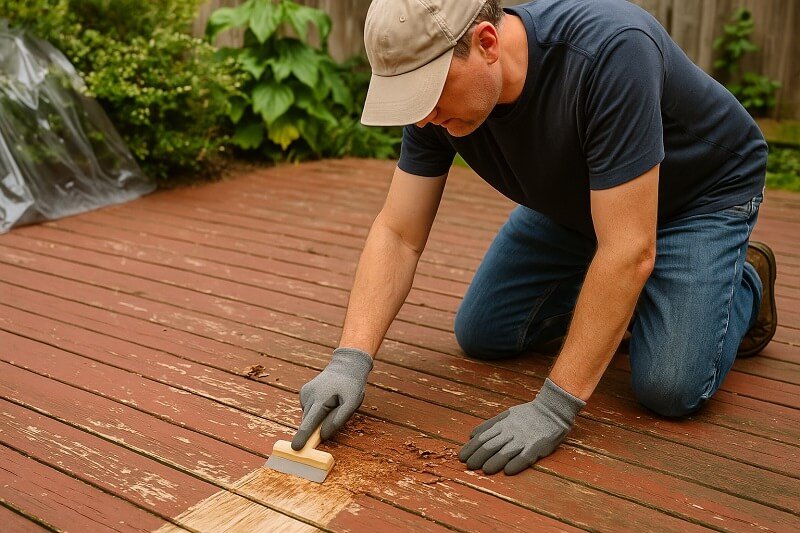
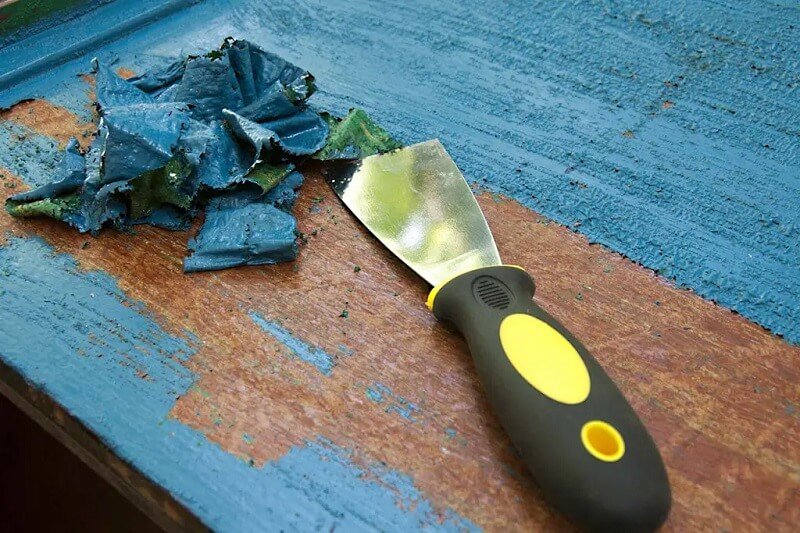
Once the paint stripper has softened the coating, you can start scraping. Use a plastic or wooden scraper and work gently along the direction of the grain. Avoid pushing too hard or using metal tools, as they can gouge the timber and leave permanent marks.
You may need to reapply stripper on stubborn patches or thick paint layers. Patience is key here, taking your time ensures you remove as much as possible without harming the wood underneath.
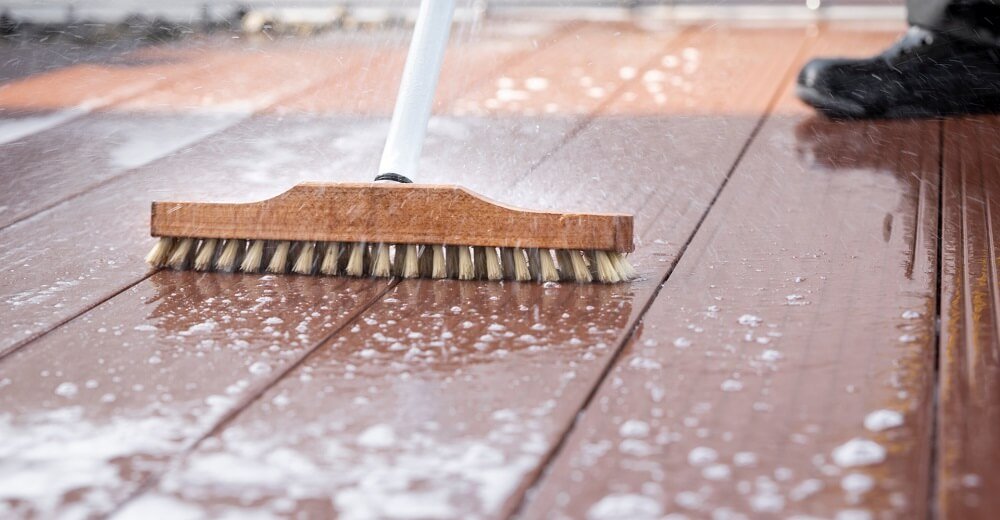
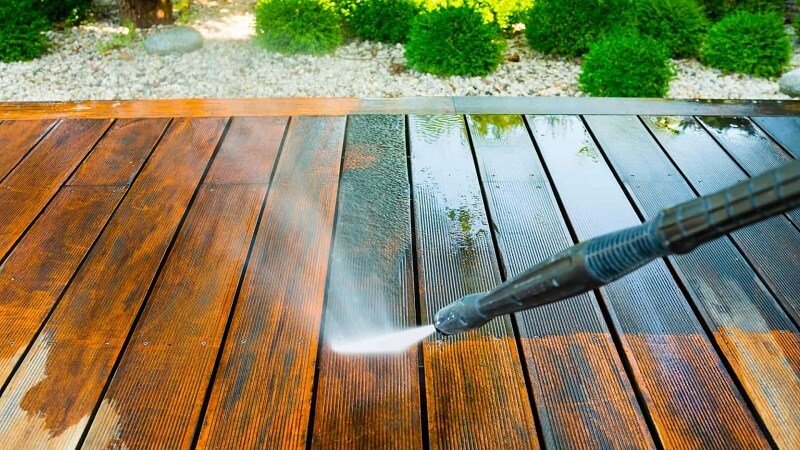
Step 5: Rinse thoroughly
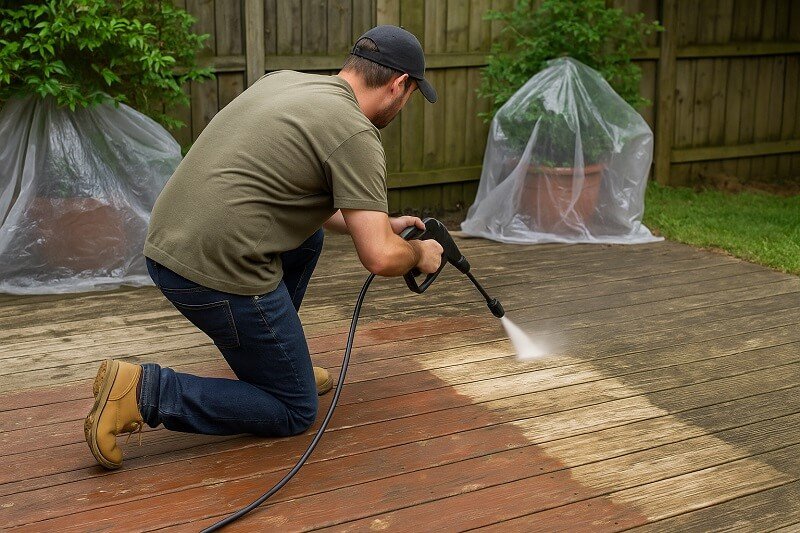
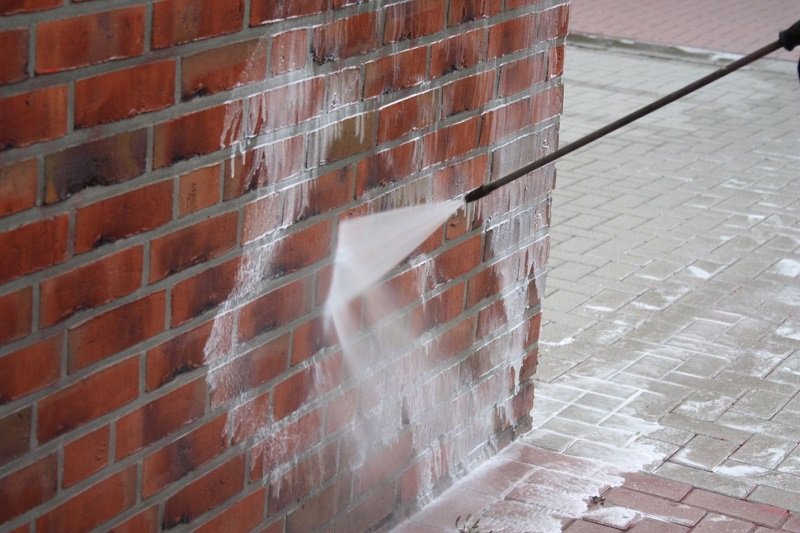
After scraping, rinse the entire deck to wash away residue and loosened paint. A garden hose works well, but if you use a pressure washer, keep it on low power and fit a fan nozzle to spread the water.
Hold the nozzle at a safe distance so you don’t strip or damage the wood fibres. Thorough rinsing ensures that no chemical traces remain on the surface, which is essential before moving on to the next stage.
Step 6: Neutralise and let dry
Some paint strippers, especially those used on timber, need to be neutralised to stop the active chemicals from continuing to work. Apply the neutraliser as directed, then rinse the deck once more.
After this, leave the decking to dry completely, ideally for 24-48 hours, depending on weather conditions. Proper drying is vital, as moisture trapped in the wood can interfere with sanding and the adhesion of new finishes.
Step 7: Light sanding and final clean

When the deck is dry, check the surface for raised fibres. Stripping and rinsing often roughens the wood slightly, so a light sanding with fine-grit paper will smooth it back down.
Focus on problem areas rather than sanding the entire deck aggressively. Once smooth, sweep or vacuum away all the dust so the surface is perfectly clean. This leaves your deck fully prepped and ready for staining, oiling, or painting, with nothing left behind to compromise the new finish.
Prefer to Skip the Hard Work?

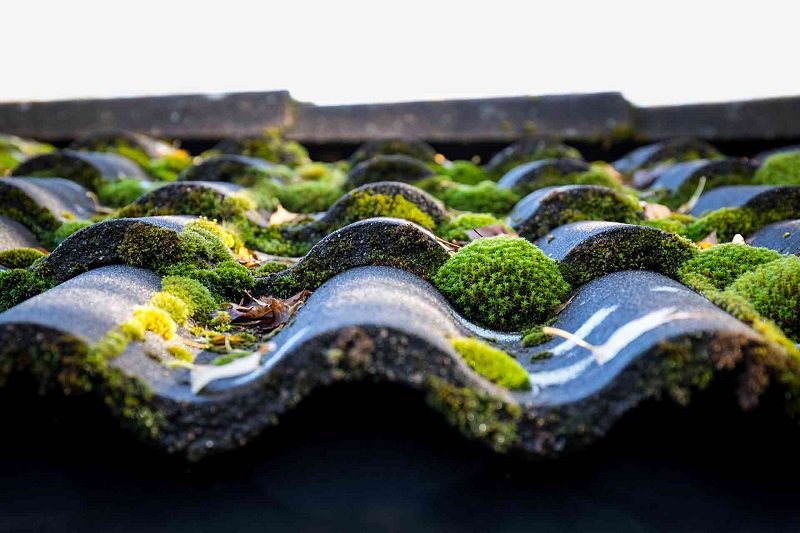
Most decking only needs a thorough decking cleaning service to look fresh again. Our team removes dirt, moss, and algae safely, restoring the natural look of your boards and extending their lifespan.
But if layers of old paint continue to cling on, that’s when our dedicated paint stripping service in Bristol comes in. We use specialist techniques and products to remove stubborn coatings without damaging the timber, leaving the surface perfectly prepped for oil, stain, or a new finish.
Why choose Bristol Blast Away? Because we’re a local, hands-on team trusted by homeowners across the city. We combine the right tools with years of experience, delivering results that DIY methods can rarely match. With us, your decking gets the care it deserves, safe, efficient and built to last.
How to Strip a Painted Deck (Alternative Approaches)
Sometimes you don’t need to strip the entire deck, just tackling specific problem areas can save time and effort. Here are a few tailored approaches:
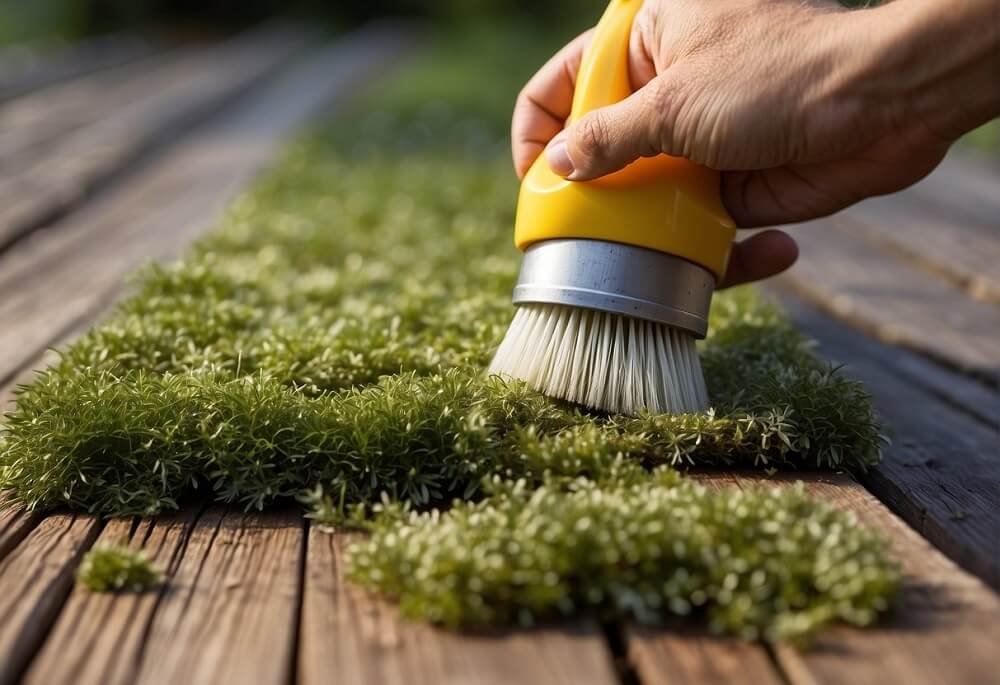
For small patches: mix mild soap with warm water and scrub gently using a soft-bristle brush. This is perfect for touch-ups where only a little paint has started to lift.
For heavy, flaking paint: apply a thicker stripper gel directly to the boards, let it sit as instructed, then scrape carefully and rinse well. This method breaks down multiple layers quickly and effectively.
For stubborn areas: if the paint refuses to budge, repeat the application of stripper or use light sanding (timber decks only) to smooth the surface and prepare it for a fresh finish.
Removing Paint From Composite Decking
Unlike timber, composite decking has a protective cap that can be damaged if treated too harshly, so the approach needs to be gentler. The safest way to start is with warm soapy water and a soft-bristle brush, which usually removes most surface paint.
For small spots or splashes, use a plastic scraper followed by a gentle wash to lift the paint without scratching the boards. It’s important to avoid sanding or using strong chemical solvents, as these can permanently harm the composite surface and leave it vulnerable.
Above all, always check and follow the manufacturer’s care guidelines, as each brand may recommend slightly different cleaning methods to protect the warranty and lifespan of your decking.
Common Mistakes to Avoid
Even the most careful DIY jobs can go wrong if you overlook a few key details. Avoiding these common mistakes will save you time, money, and protect your decking from permanent damage:
Using bleach or harsh chemicals: while they may seem effective, they can discolour wood, weaken fibres, and strip away the natural look of your decking.
Applying too much pressure with a washer: blasting with high pressure can gouge timber, lift fibres, and even crack composite boards. Always keep the setting low and use a fan nozzle.
Skipping the neutralising stage on timber: after using paint stripper, neutralising is essential to stop chemical reactions that could damage the wood or affect your new finish.
Sanding composite decking: unlike timber, composite boards have a protective cap. Sanding removes this layer, leaving the surface exposed to stains, scratches, and weather damage.
Aftercare: Keeping Your Decking Fresh
Once the paint is gone and your decking looks like new, a little ongoing care will keep it that way for years to come. Here’s how to make sure your hard work lasts:
Clean regularly to prevent moss and algae: a quick wash every few weeks stops slippery growths from taking hold and keeps the surface safe.
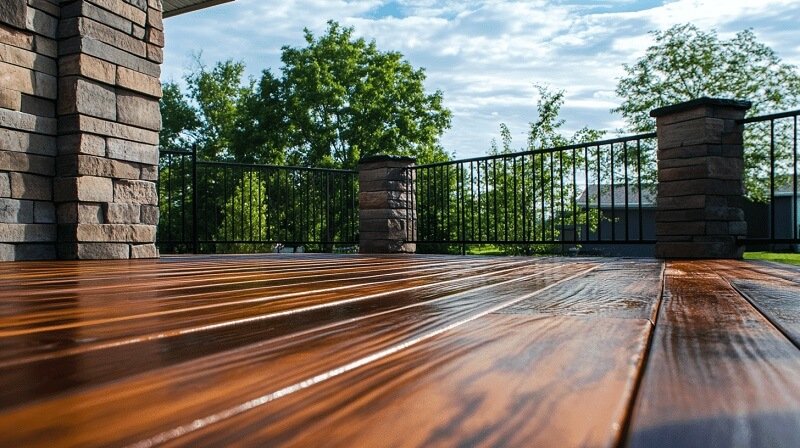
Recoat timber with oil or stain once dry: protecting the wood with a fresh layer of oil or stain not only enhances its colour but also seals it against moisture.
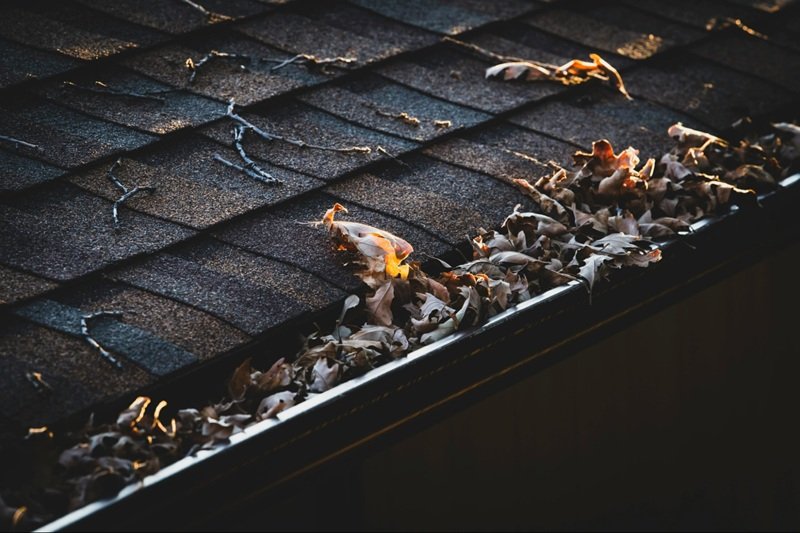
Sweep away leaves and debris seasonally: fallen leaves trap damp and dirt, so clearing them away in autumn and spring helps prevent damage and staining.
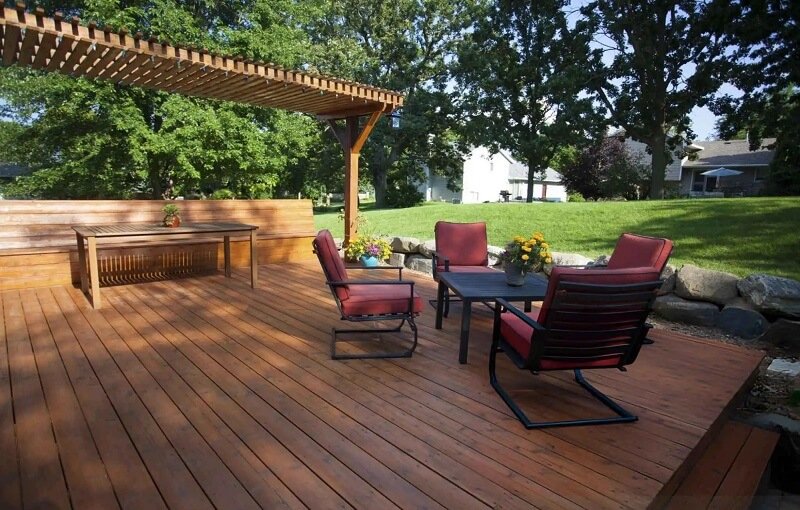
With these simple habits, your deck will stay fresh, strong, and inviting all year round.
FAQs About Removing Deck Paint

We know stripping paint can feel complicated, so we’ve answered some of the most common questions homeowners ask about how to remove paint from deck safely and effectively.
1. What is the best way to strip deck paint safely?
The safest way is to use a water-based paint stripper applied evenly across the boards, followed by gentle scraping in the direction of the wood grain. This method allows you to strip deck paint without damaging the timber, while rinsing thoroughly afterwards ensures no chemicals remain.
2. Can you remove paint off a deck without sanding?
Yes, sanding is not always required. In many cases, using a suitable paint stripper and a plastic scraper is enough to remove decking paint. Sanding should only be used lightly if the wood fibres lift after rinsing, and it’s never recommended on composite decking.
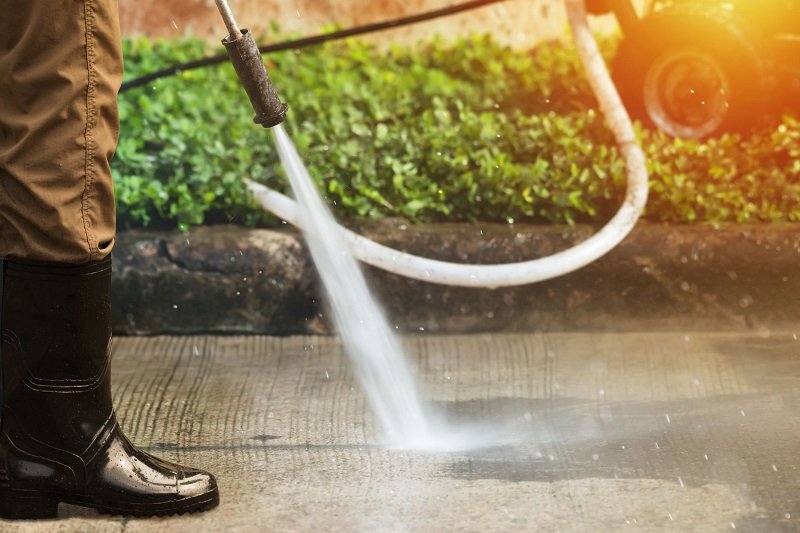
3. How to strip paint off a deck with a pressure washer?
A pressure washer can help, but it should only be used on a low setting with a fan nozzle to avoid damaging the wood. The washer should follow paint stripping, not replace it. Think of it as the final step to wash away residue once the stripper has already done its job.
4. How soon can you recoat decking after removing paint?
After you strip deck paint and rinse the boards, the surface must dry completely, usually 24-48 hours, depending on weather conditions. Only then should you apply oil, stain, or a fresh coat of paint, so the new finish bonds properly and lasts longer.
Want the best results without the hard work? Bristol Blast Away offers professional deck paint removal and maintenance services across Bristol, helping you enjoy your outdoor space sooner.